How to add Access Groups in PremiSys

Access groups allow you to assign time zones to doors and elevators. A cardholder assigned an access group is granted access at the door or elevator only when the assigned time zone is active. An elevator access group can specify different time zones for each floor of the elevator. After doors/elevators are configured, group into Access Groups.
To create an access group follow these steps:
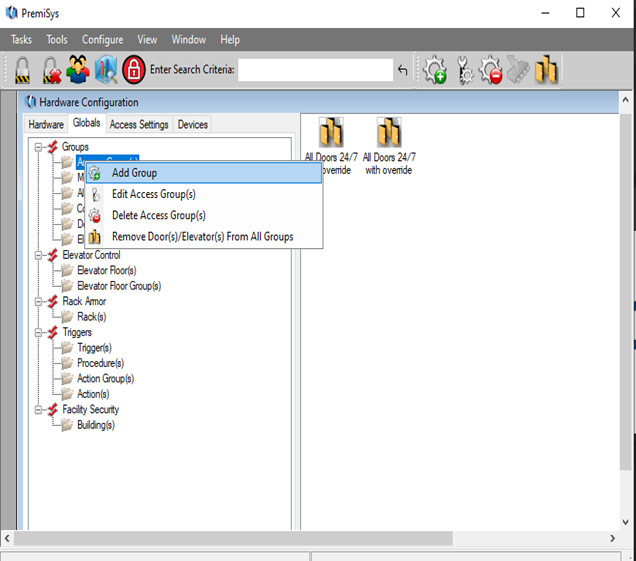
1. On the menu bar, click on Tasks – Hardware Configuration – Globals Tab– Access groups folder
2. Right click the Access Group(s) folder and click add group. The Access Group window opens, displaying all doors and elevators to which you have security rights to view and/or edit.
Note: The time zone titled "None Assigned" indicates that no time zone is assigned to the door/elevator for this access group. If a time zone is assigned to a door/elevator and you change the selection to "None As signed" the access group will NOT have access to that door/elevator.

3. Enter a short, descriptive name for the access group in the Name field. Optional: enter a more detailed description of the access group in the Description field.
4. Optional: choose activation and deactivation dates: Leave both check boxes unchecked to make the access group immediately active, with no expiration date. If you need to set future activation or deactivation dates, follow the guidelines below:
- Activation Date - Select the date and time when the access group is to begin allowing access.
- Deactivation Date - Select the date and time when the access group is to stop allowing access.
Note: Do not select a deactivation date unless you also select an activation date. Do not select a deactivation date that is earlier than the activation date.
5. Click the drop-down arrow in the Time Zone column for a door or elevator you want assign a time zone. A drop-list displays the time zones available in your PremiSys system. You can right Click and create a new time zone.
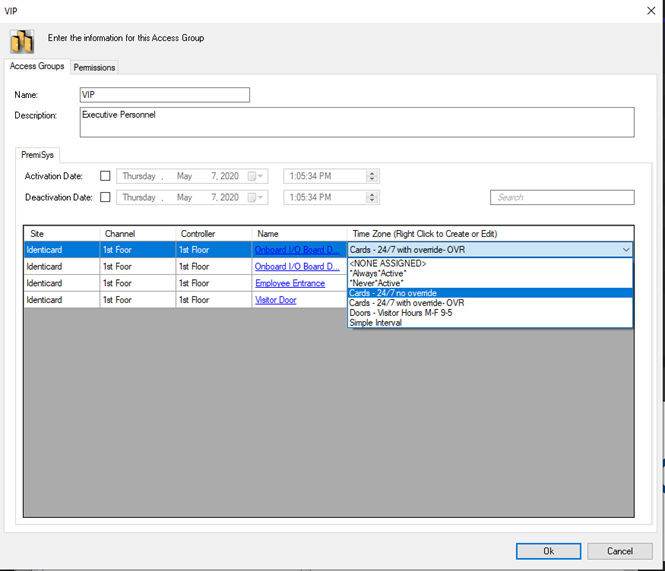
Search tip: If you have many doors and/or elevators you can search for them by name using the "Search" box above the Time Zone column.
6. Select the time zone you want to assign to the door/elevator. This time zone can be "None Assigned" which means no access to the door/elevator.
7. Repeat Steps 5 and 6 until you finish assigning time zones to doors and elevators for this access group.
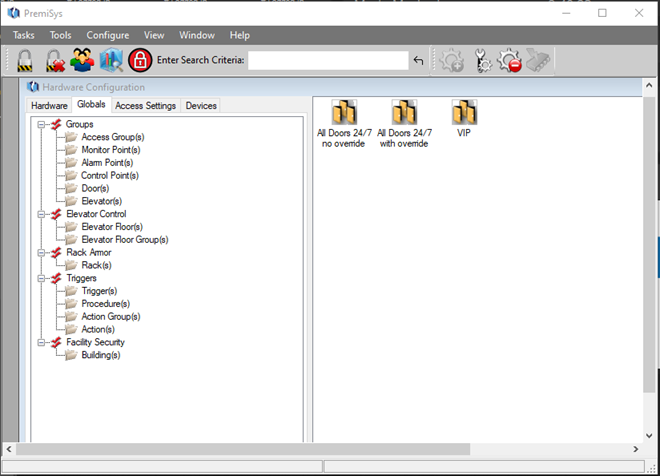
8. Click "Ok" to save the Access Group. It should now appear in the right-hand pane of the Hardware Configuration window.
Note: When adding new doors to the system, remember to update any existing access groups that should include the new doors.
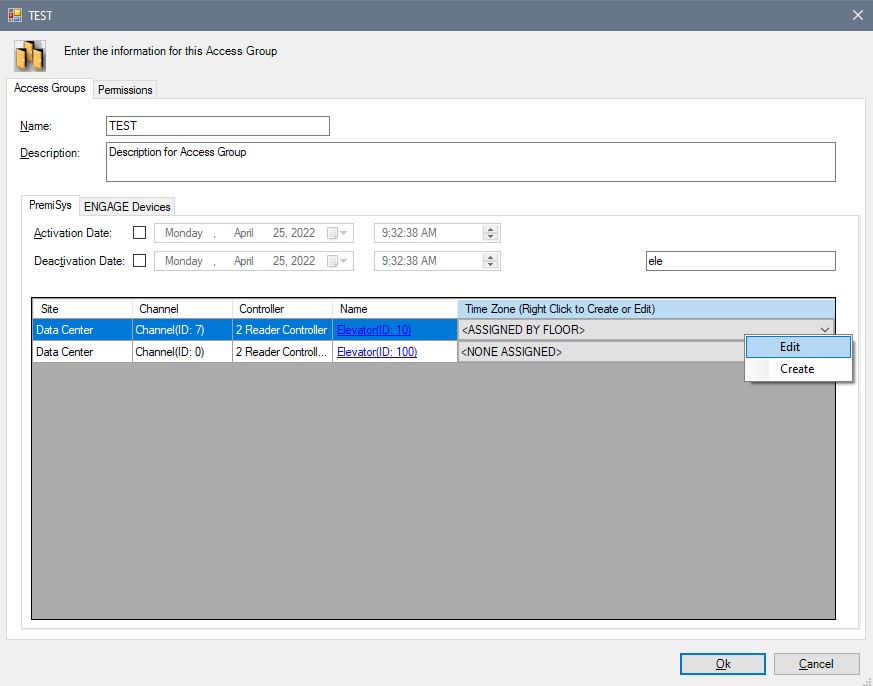
9. Access for Elevators by Floor is similar. Search for your elevator and choose Assign By Floor.
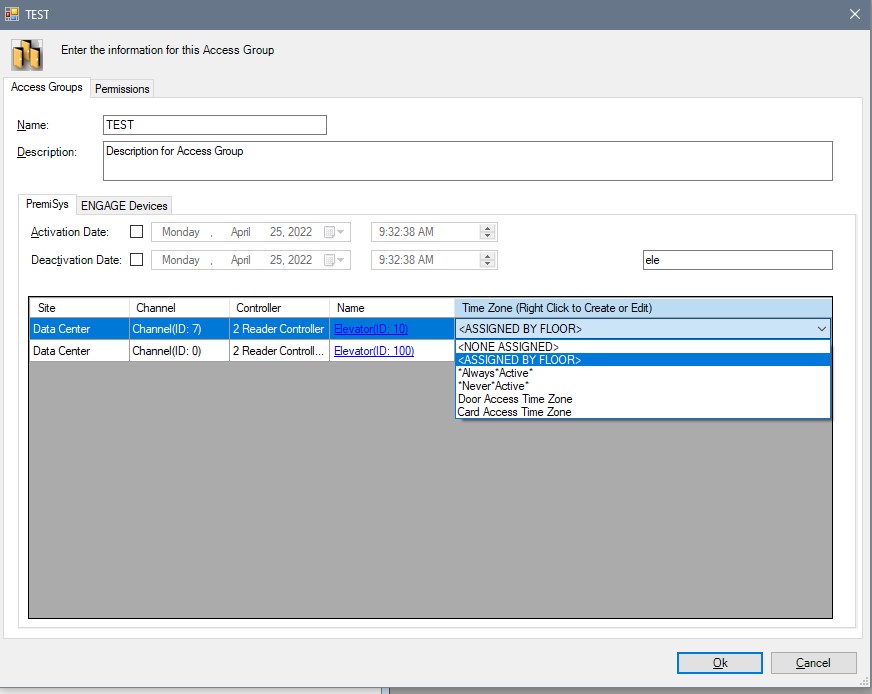
10. Right click on Assign By Floor and choose Edit.
11. Choose the time zone you want to apply to each floor for this access group.
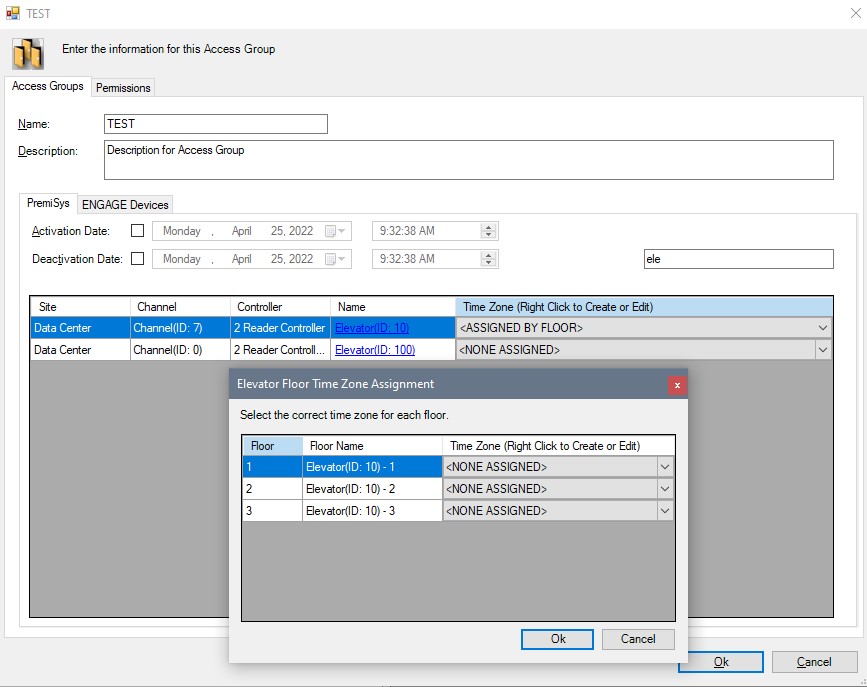
12. You must choose a time zone for each floor. If there is no time zone you must select a *Never Active* time zone.
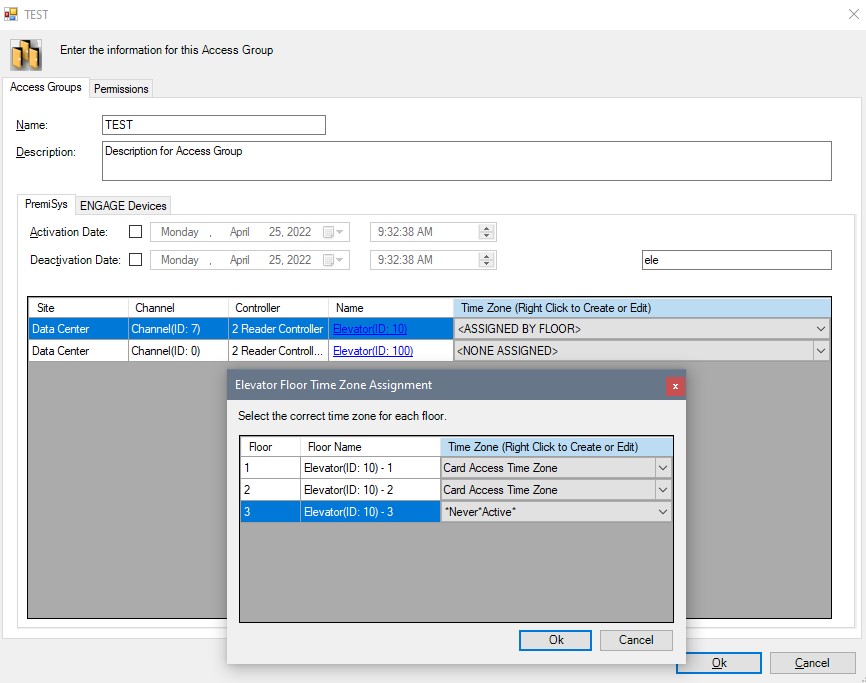
13. Hit OK to save your changes.