How to add a Cardholder Record using the PremiSys® Web Client

Add a Cardholder Record to PremiSys using the Web Client

Add a Cardholder Record using the Web Client
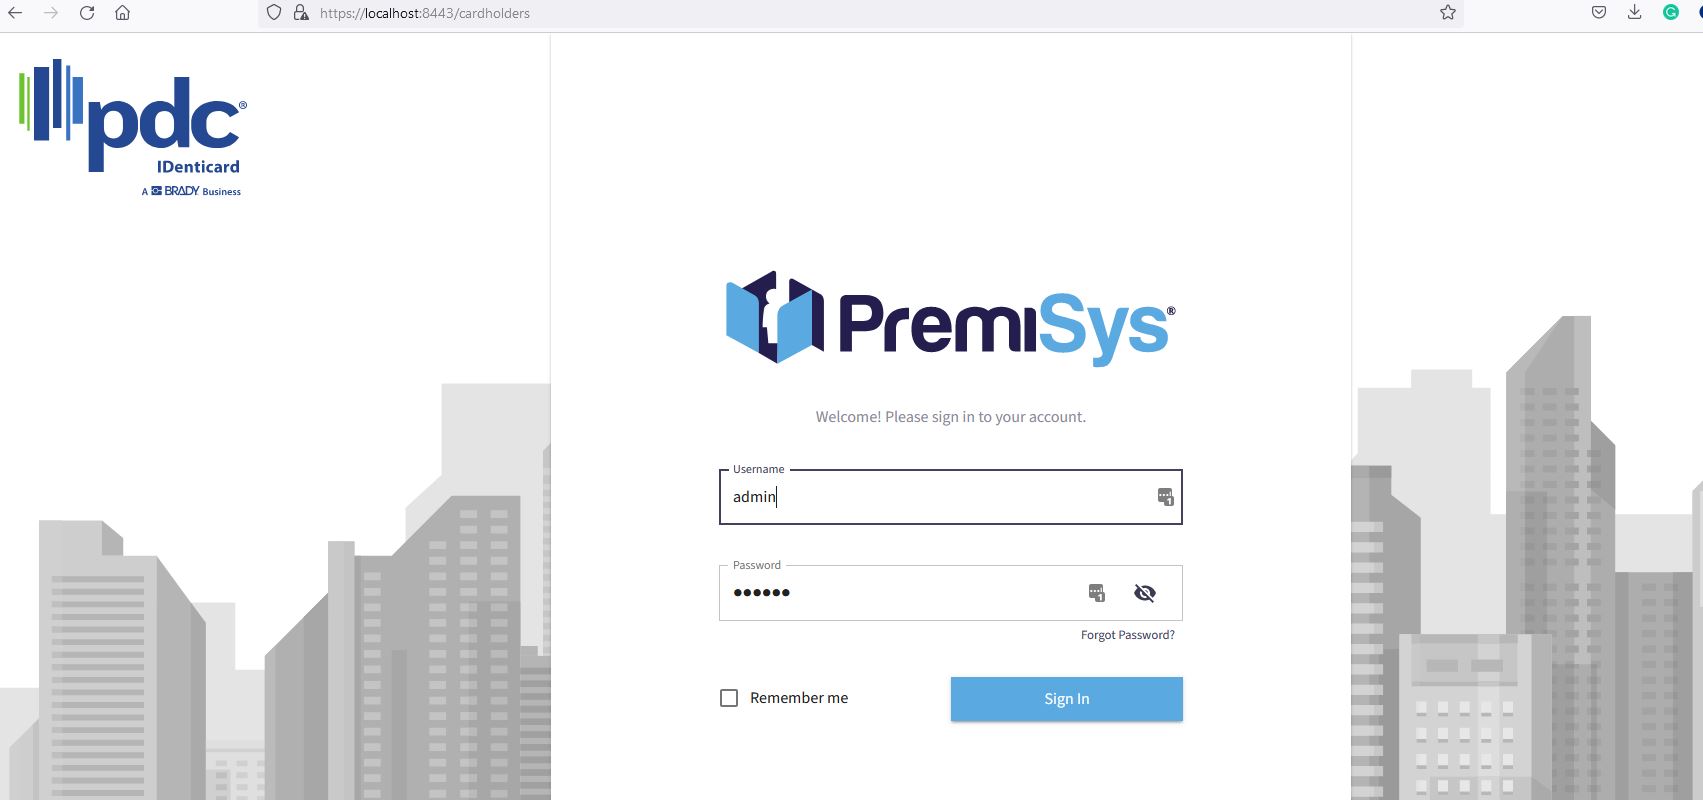
1. Open a web browser and browse to the address of your web client. Log in to the web client.
2. Click the Cardholders button on the left side of the window if the Cardholders Directory is not open.
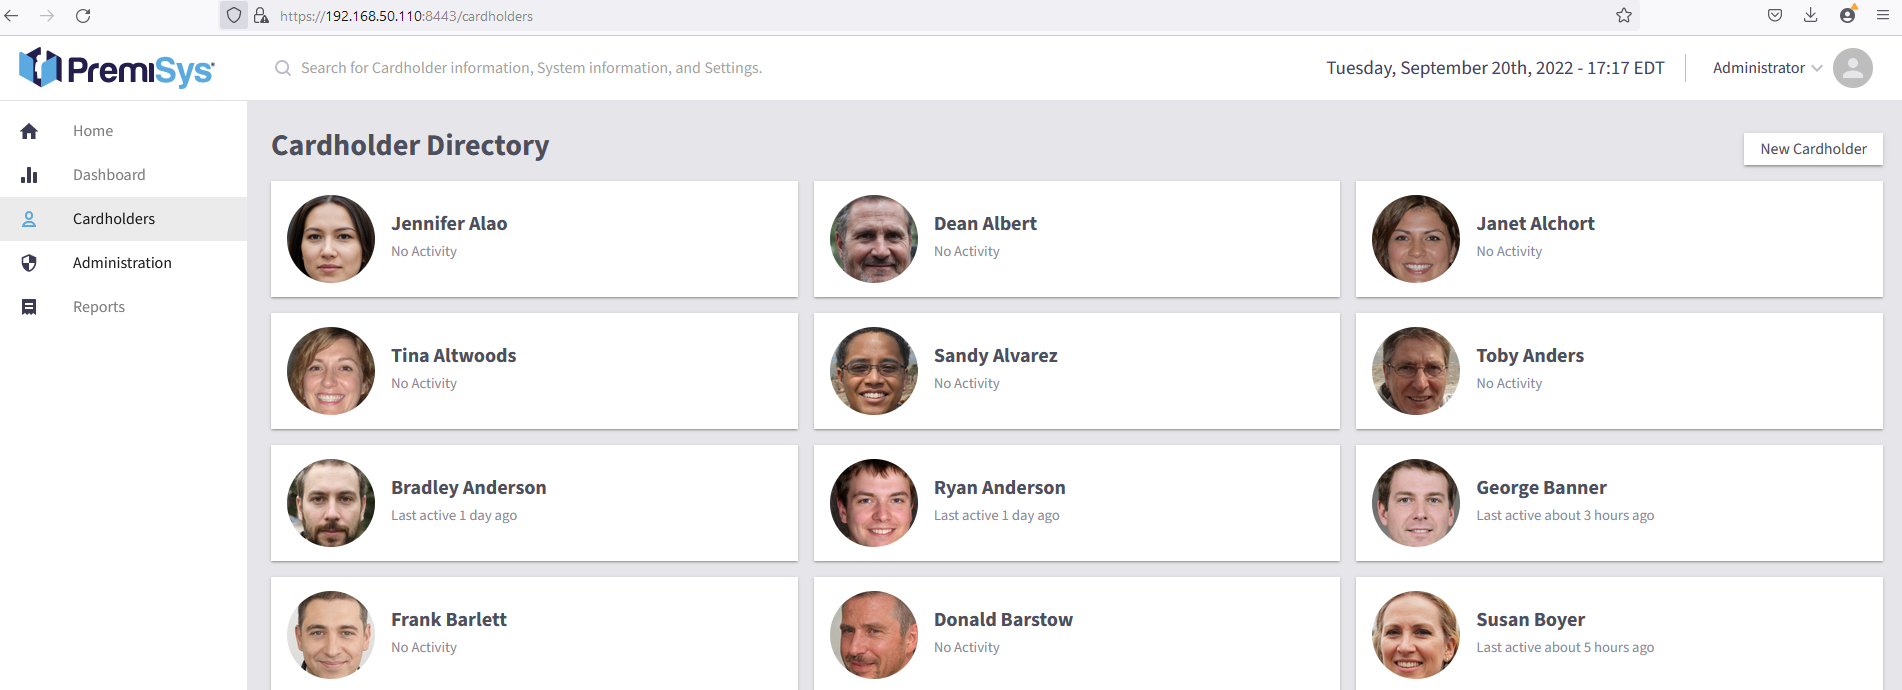
3. Click the New Cardholder Button on the upper right-hand side of the window.

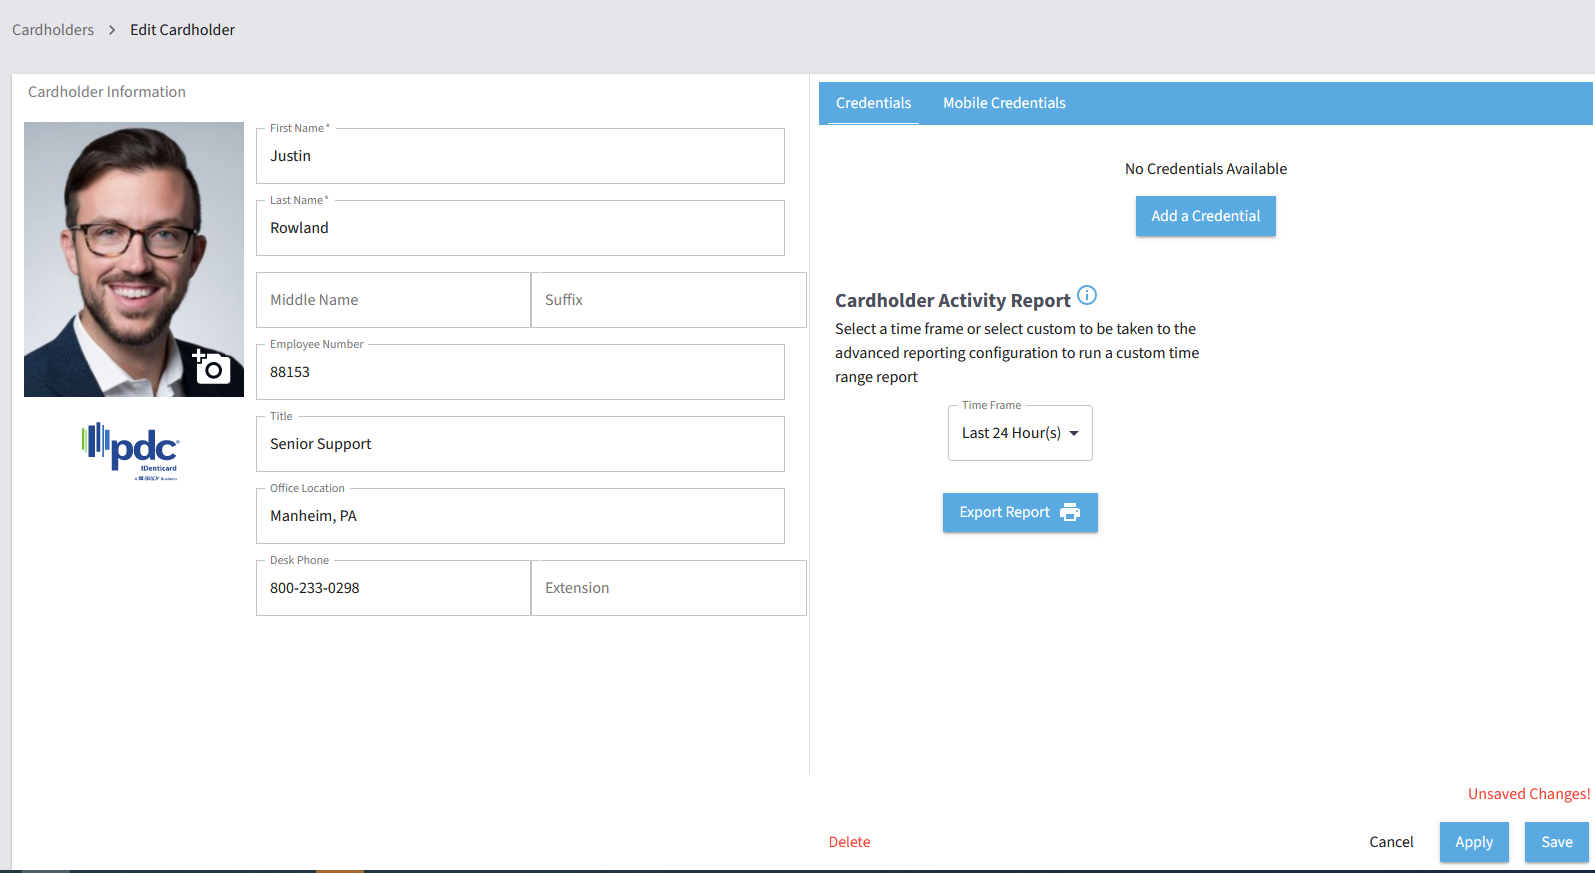
4. The blank cardholder record will open. You are required to enter First Name and Last Name.
5. Enter the First Name, Last Name, and any other details you would like to capture to the record.
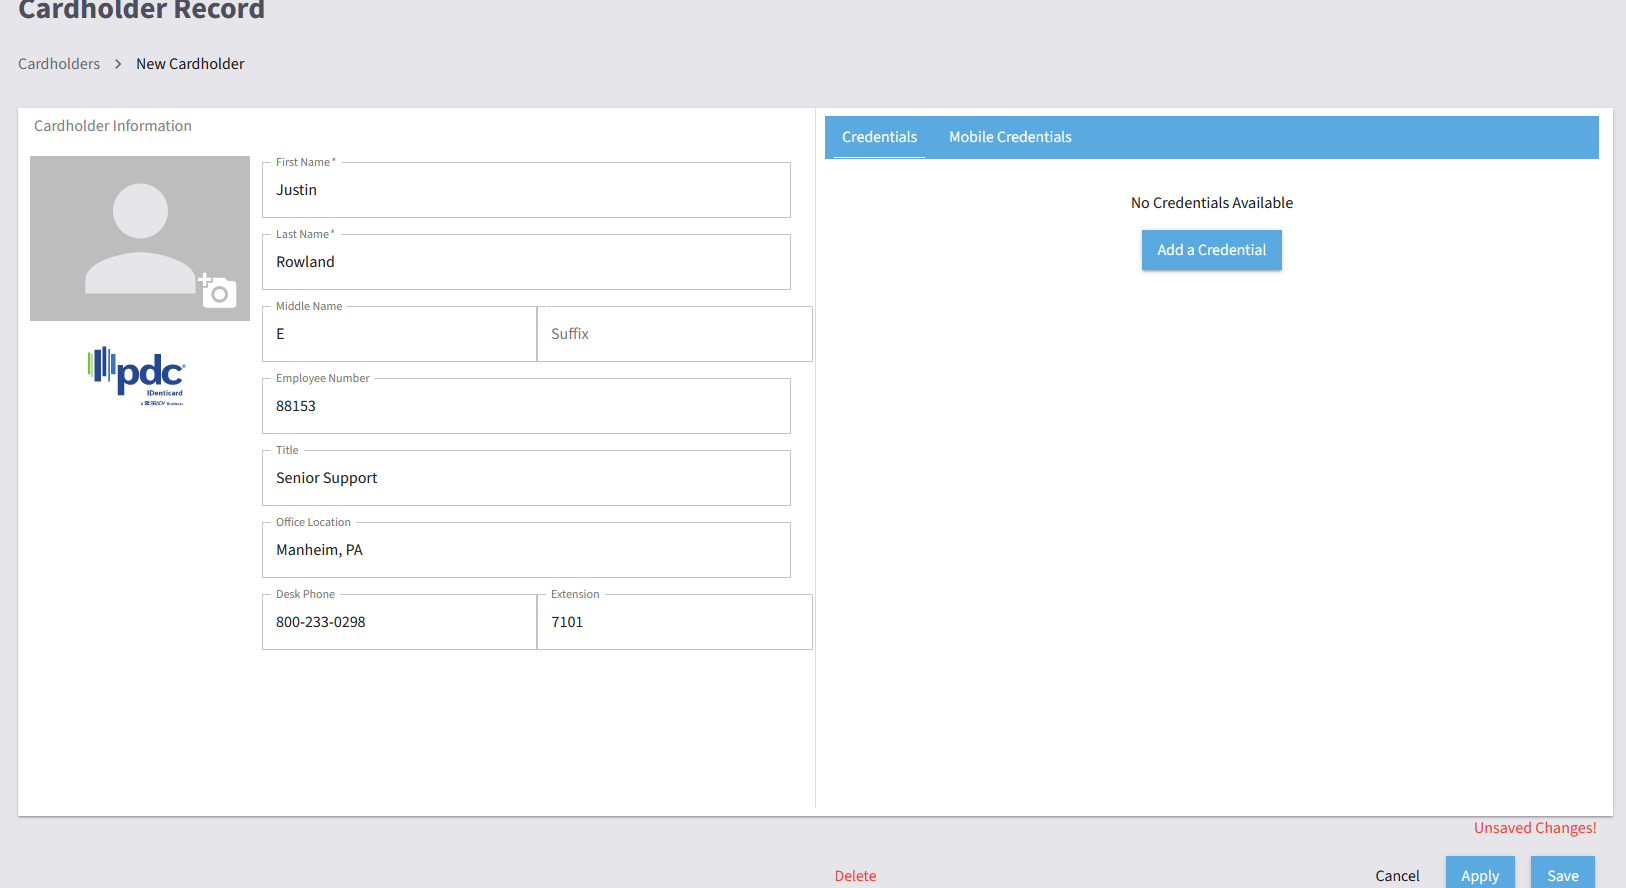
If you are not inserting a photo skip to step 10.
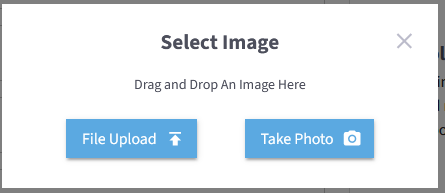
6. Import a Photo - Click the photo box on the left-hand side. a pop-up window will open select File Upload or Take Photo.
***Please note Take Photo option is not available at this time, this will be coming in a future release***
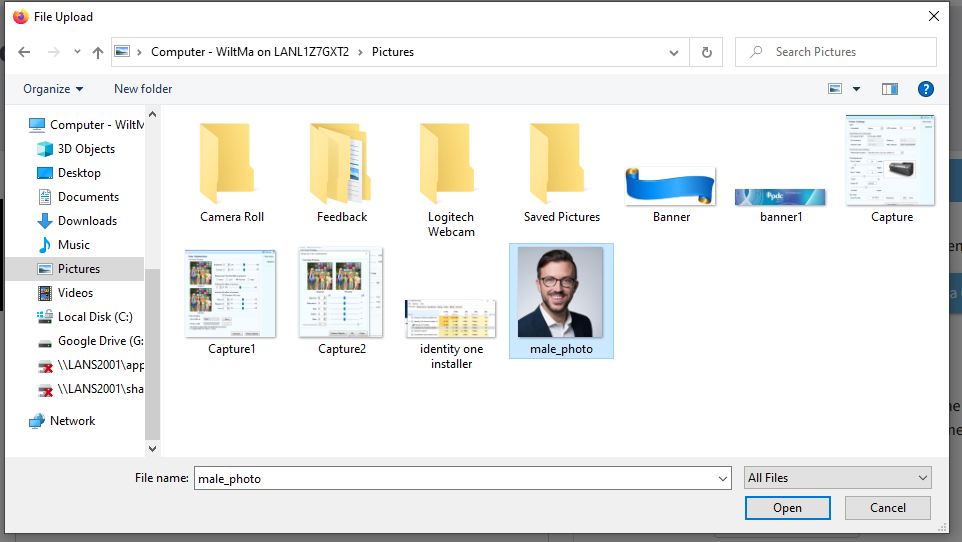
7. Click File Upload and browse to your photo. Select the image file and click open.
***Please note the file size must be under 100kb at this time.***
8. Crop the Image. Click and drag any of the corners of the floating box to adjust the crop box. Click Save at the top of the Crop window.
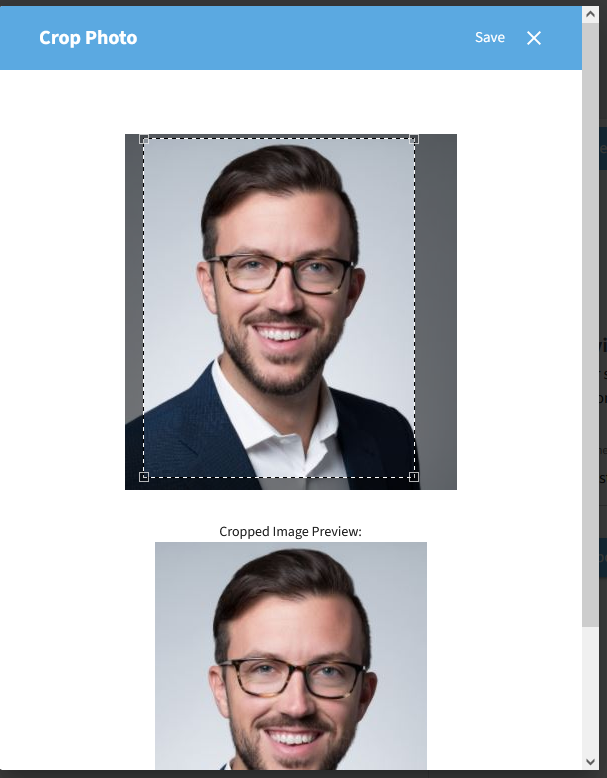
9. Confirm Photo - Click Accept to accept the image. The image will be placed on the record.

10. Save - You will see you have Unsaved Changes in red above the save button. Save the record, Click the Save button in the lower right corner. You will see a green pop-up stating the card has been saved successfully.
Here is a zoomed-in image of the Apply and Save buttons.
